Thermostat Installation in the USA
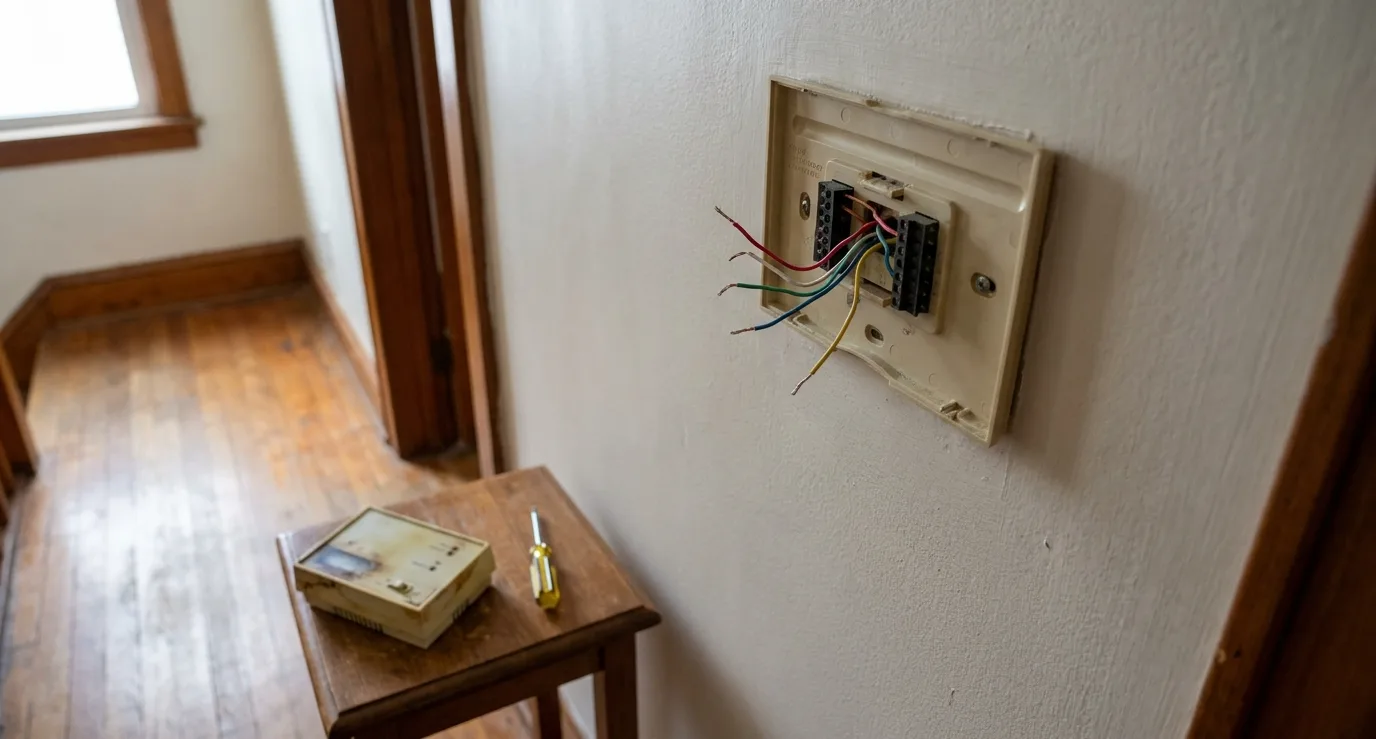
USA HVAC Pros installs thermostats by first shutting off power at the breaker, removing the old cover, and labeling every wire connected to the subbase. The technician then checks the existing transformer output and verifies that the new control matches the system type whether it is conventional heat cool or heat pump. Proper wire routing prevents shorts once the unit is mounted and powered up.
After the new thermostat is secured the technician restores power and runs a full test of each stage. This includes forcing the heat or cool call, confirming that the condenser or furnace responds, and checking that the temperature reading stabilizes within two degrees of the set point. Any remaining issues are traced back to the wiring or the equipment itself. Visit the homepage of USA HVAC Pros to schedule thermostat installation or explore additional HVAC options in the USA.
Warning Signs a Thermostat Needs Replacement
- Rooms stay several degrees away from the temperature the dial shows.
- The furnace or air conditioner cycles on and off every few minutes.
- No power appears at the subbase when the cover is removed.
- The display stays blank or shows erratic symbols after battery changes.
- Wires behind the unit show melted insulation or corrosion at the terminals.
Checks Performed During Thermostat Installation
Our technicians begin by measuring line voltage at the transformer and confirming it matches the rating printed on the new thermostat. They then use a multimeter to test continuity on each wire from the equipment terminal board back to the wall location. Any wire that fails continuity is tagged so it can be addressed before the new unit is connected.
Next the technician compares the old subbase wiring diagram against the new control instructions. Color codes are noted and any jumper requirements for multi stage equipment are recorded. This step prevents incorrect stage calls once power returns.
Finally the mounting plate is leveled and secured. The technician ensures the sensor opening on the cover will sit away from direct sunlight or supply registers after the job is finished.
Common Causes of Thermostat Failure
Dust and lint collect inside the housing over time and interfere with the temperature sensor or the relay contacts. A failing sensor reads several degrees off and causes the system to overshoot or short cycle. Technicians often find this condition when the old unit is opened during removal.
Loose or corroded terminal screws create intermittent connections that mimic equipment problems. Homeowners sometimes notice the system works one day and not the next. The technician tightens or replaces these connections during the swap.
Age related capacitor drift inside electronic models can also produce random temperature swings. When this occurs the only reliable fix is to install a new control that uses updated circuitry.
Parts and Materials in Thermostat Installation
USA HVAC Pros carries both conventional and heat pump thermostats that accept the common wire if the original equipment provides one. The new subbase uses screw terminals sized for 18 gauge thermostat wire. Mounting hardware includes anchors rated for drywall or plaster surfaces.
Technicians also bring spare wire nuts and electrical tape to secure any splices inside the wall cavity. A small level ensures the final cover sits straight so the display reads correctly from across the room.
When the existing wire is damaged the technician replaces the run with new 18 8 thermostat cable pulled through the same opening. All connections are made with the power off and then retested before the cover is snapped into place.
First Steps for the Homeowner
Turn the system switch to off and remove the thermostat cover to inspect the wiring. Note any wires that have pulled loose from their terminals or show darkened insulation. Write down the wire colors and the terminal letters they connect to before calling for service.
Check the breaker that supplies the furnace or air handler and confirm it has not tripped. Replace the batteries if the display is blank but do not force the cover back on if the terminals look corroded.
Keep the old cover and any removed screws in a safe place so the technician can reference the original wiring when the new unit arrives.
Thermostat Installation questions
What happens if the wires do not match the new thermostat diagram?
The technician traces each conductor to the equipment terminals and creates a custom diagram. Jumpers are added only where the new control instructions require them and all connections are tested for continuity before power is restored.
Can a homeowner swap the thermostat without shutting off power?
No. The breaker must be turned off at the panel before any wires are touched. USA HVAC Pros always verifies zero voltage at the subbase with a meter before beginning work.
Why does the new thermostat need a common wire?
Many modern controls draw constant power for the display and Wi Fi radio. Without the common wire the unit may lose power during off cycles and require battery changes more often.
What if the existing wire is too short for the new subbase?
The technician splices in additional length using wire nuts rated for thermostat cable. The splice is tucked back into the wall cavity so it does not interfere with the mounting plate.
Thermostat Installation
USA HVAC Pros replaces thermostats by first confirming wire function and voltage before installing the new control.